Monday, November 12, 2012

Shower Fix

Here is how you replace a shower head a bathtub spout and a single shower control knob with new parts.

We needed to fix the shower so we could start taking stand up showers and not ones on our knees (very painful and it sucks, to put it lightly).

We scored the parts for free from a good plumber friend, so that was sweet.

Here is what you need:
- Screw Driver
- Pipe Wrench and rag (if previous head and spigot is really stuck on pipe, we didn't need it)
- Thread Tape
- Mr. Handy helps too for cleaning

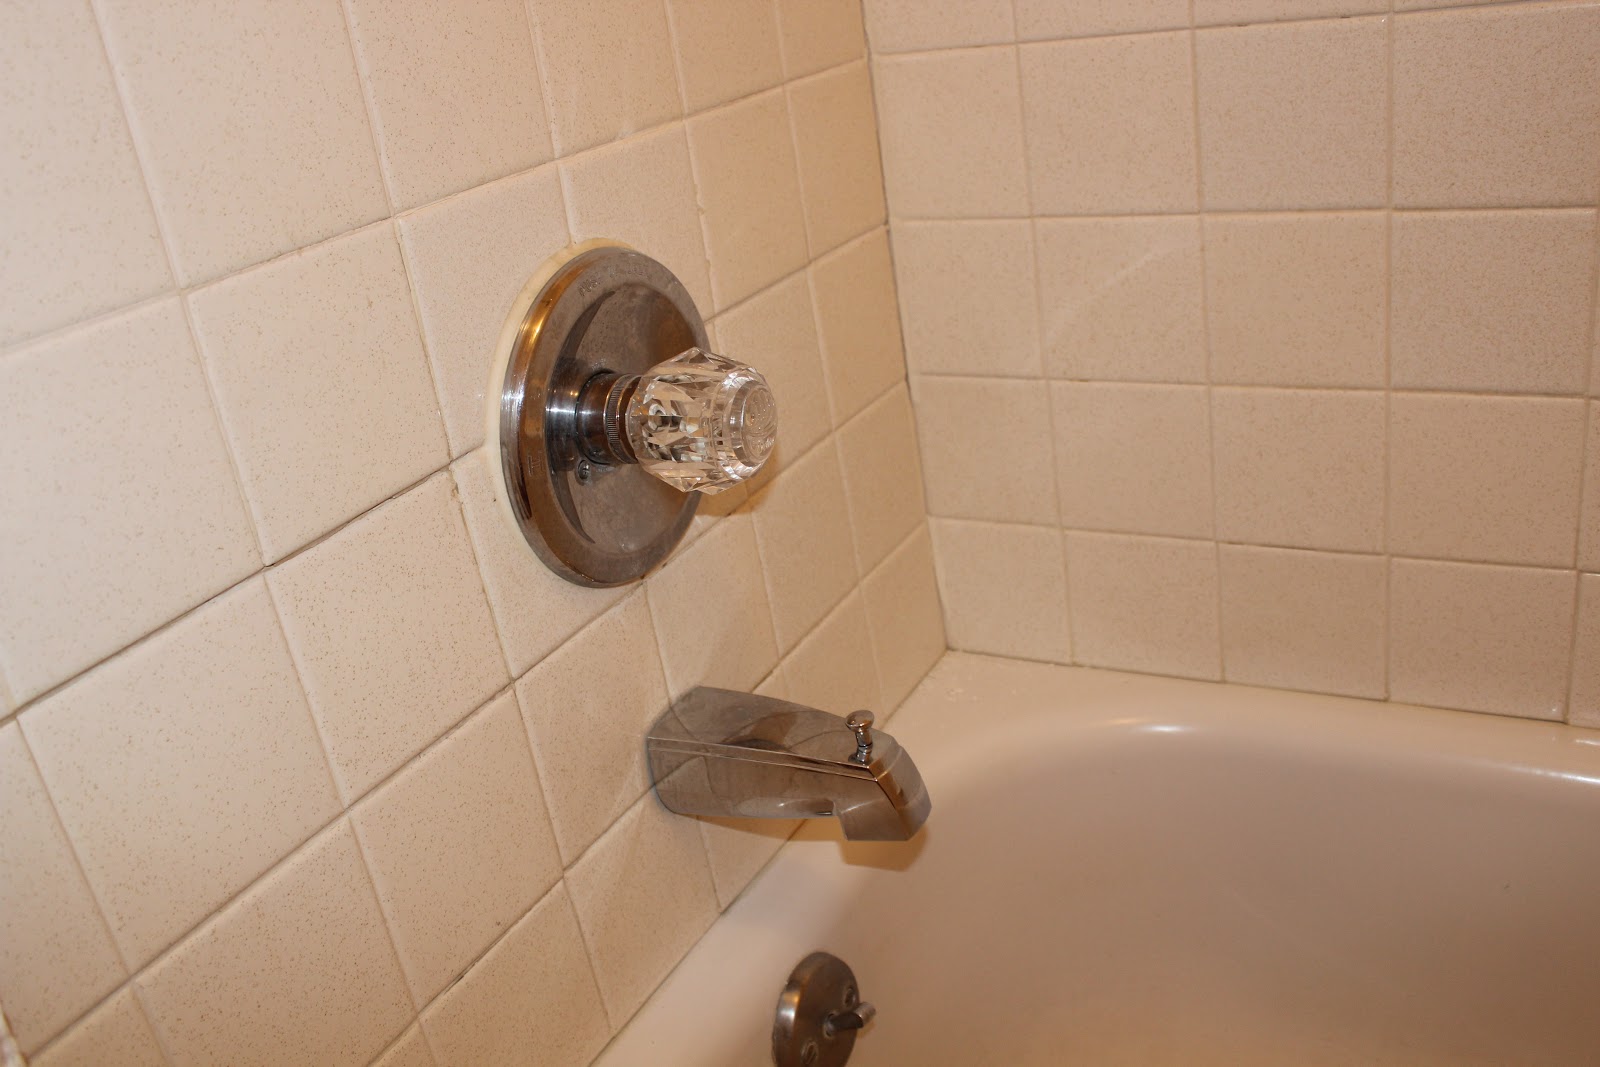
Here is the old setup.
Notice there is a shower head, but no, it is not functional due to the switch in the tub spout being nonoperational.


Gross


First remove the old spout. This can be done by hand in most cases.

 Here is the root of the problem, the jammed switch plate. This prevented us from diverting the water to the shower head.

Next, clean off the threads as there is sure to be old rotted thread tape

Then remove the old silicone from the wall, but be careful not to chip the tile

Next put the thread tape on. Remember to wrap as I am showing in the image, this way will make the tape overlap tighten as you screw on the spout, the other way would force it to unravel.

 Then just screw on the new spout hand tight and you should be good to go here.

Next I removed the shower control knob.

In the old Delta faucet that was on there was only one screw that holds it on.

Here is the knob base when the knob is off.


While we had the knob off we took the liberty of using Mr. Handy to clean off the knob base.

Replace it with the new one, which is as easy as screwing in the screw and replacing the front cap.

Here is the new knob and spout installed.

 Last but not least is the removal and replacement of the new shower head.
Look at this dinosaur!

Again, you should clean off the threads and then follow the same steps as you did on the lower spout
(thread tape in correct direction, hand tighten)
FYI, this image shows that somebody improperly used a pipe wrench on the shower pipe. If you use a pipe wrench you are supposed to first put a towel on the pipe so you do not ruin the chrome finish with the teeth like this image shows.

Natalie did some finishing touches to clean things up

And FINALLY we have a shower running!!!!

Kent is absolutely ecstatic about being able to take a shower while standing!

Replacing our shower head and bath spout was really easy so I would rate it as "Anybody Can Do". The shower control knob was a delta and we replaced it with another delta so that was really easy as well. Of course, like most DIY projects, you just need to start it, then you will figure it out as you go.


Saturday, November 10, 2012

Our First House

Let us introduce you to our first house!

Here it is!
We will start with the outside
Home Sweet Home - As yellow as can be
As you can see the previous owner liked yellow...  Well, we will have to work on that later.

Here you can see how the previous owner was quite the gardener. 
We aren't quite sure what he had growing on his makeshift trellis running the length of the house.

And here is the side view of our deck that is unsafe for people to walk on.

 Speaking of unsafe, this is how it is currently attached to the house... YIKES!
But you know what that means... 
Yep, we will be designing our own new deck in Solidworks! (the nerdy engineer comes out once again...)

Side view of the deck. The previous owner had a hot tub on the helicopter pad looking spot.

The property did come with a very nice and spacious backyard (for it's location) and there is a lot that can be done.  Here are some views from on top of the deck (yes, I am a risk taker).

Notice all the raised beds! Like I said, he was quite the gardener...

Natalie has a good way of always staying positive.  "hey hunny, thumbs up that the deck is holding you up!" is the look she is giving me here:


Now for the inside!!
I apologize as some of these pictures were taken on move-in day (hence the boxes and items).

Here is the entree-way. Pretty standard for a 70s split level, two options: up or down.

Here is the back of the main door.

This is what you see when you are at the top of the stairs.  It is our living room.

Here is a shot towards the dining room and kitchen from the living room.

This is a shot of the kitchen from the dining room. 
The stove and dishwasher were new from the bank and the fridge we purchased and is also new.

This is the view towards the hallway, notice the epic chandelier!

Here is the future office (upstairs bedroom 1):

And here is the master bedroom. Again, notice the even more epic chandelier! Only problem is, when you turn it on it makes a smell as if wire insulation is melting, so we keep it off for now! :)

Here is our closet and of course some of our items moved in.

 This is the view at the entrance of the upstairs bathroom before we did Bathroom Phase I

 Shower, Tub, Toilet
FYI, the shower doesn't work. Just the tub spigot. If you have never had a shower while on your knees I recommend that you...  keep it that way. It is pretty awful and not to mention painful...
Here is how we fixed it.

 Ugly Vanity

And of course mirror with Natalie perfectly centered. Notice the mirror is starting to have some damage near the bottom. Also notice the classy gold rivets that are near the corners!

Now let's go downstairs!


Here is the view as you look left when you enter the downstairs

Here is a view around the right corner of the last image

 Back towards the stairs. Fireplace on right, unfinished bathroom on left. 

Speaking of unfinished (and outdated...)

Vintage 70s vanity.
FYI, all the water works in the downstairs bath, so this will be a fun project to finish! 

Here is a the mechanical room. The stud wall on the right back is actually what goes into the downstairs bath. So before use, we will need to put a wall up so as to not give the new neighbors quite a sight!

Here is the closet in the downstairs BR. It is a nice storage room for us now.

See what I mean?

Now back to where we started. The door under the stairs is additional storage space. Yes!

 Here is the garage door before the opener was installed (Project Numero Uno)

Here is the view of the firewall and door into house. Notice door to back and also WORKBENCH!!!

Well that is it for home sweet home and the "Blank Canvas" as Kent calls it.
Now we can get to the good stuff and post about our projects!