Bathroom Phase 1:
- Paint Vanity
- Replace Hardware (pulls, hinges)
- Replace Drawer Slides
- Install Towel Hooks and Shower Curtain Rod
- Organize Drawers
- Caulk the tub
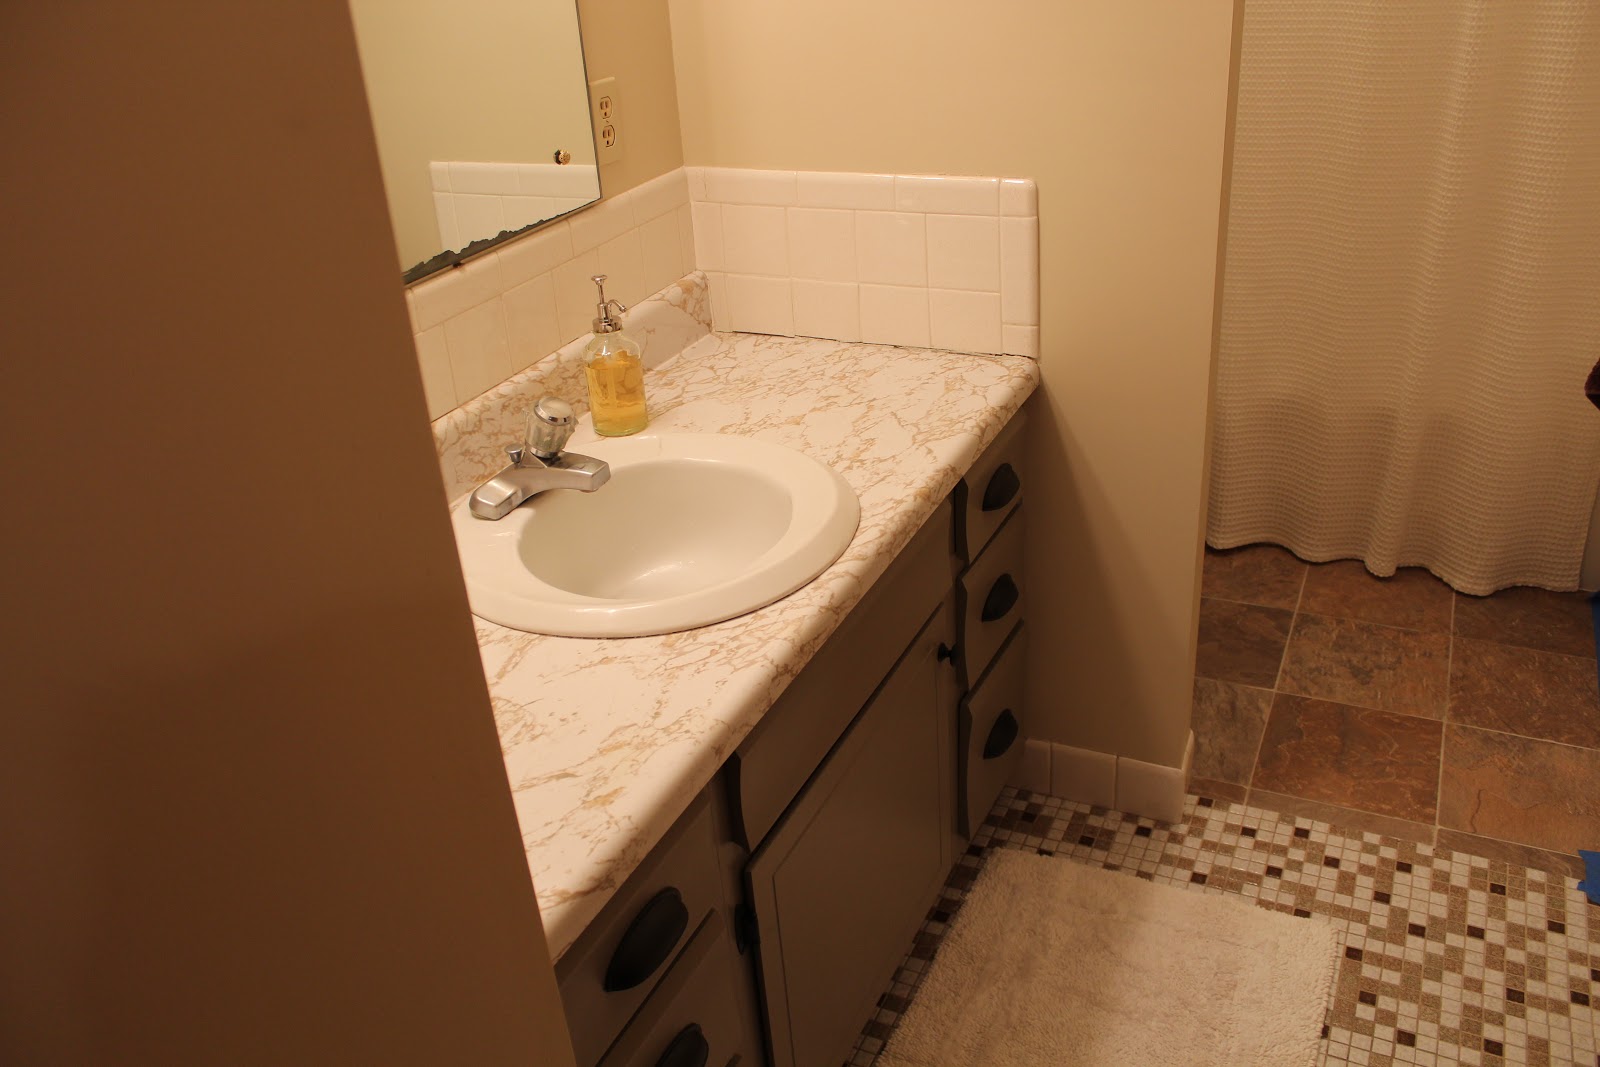
Before Pictures
View as you walk in

Shower area

Vanity

Vanity and sink

Look at that wonderful liner paper! gag
And yes, those are OLD BRACES BINDERS IN THE CORNER, GROSS!!!!
And yes, those are OLD BRACES BINDERS IN THE CORNER, GROSS!!!!

Ugly cabinet and hardware (same as in kitchen)
Not to mention the terrible rolling drawers

Getting Started
Step one was to remove all the doors and drawers.
This was easy, just pull the drawers out and unscrew the door.

Nasty stains!

Here is the cheap old drawer slides, rolling wheels with a hanging slide on top.
The wood literally slid on the wheels and some of the drawers had really warn down as a result.

Just look at the dust!

Painting
To do the painting, we did the following process.
Thanks Young House Love!
1. Scrub like hell to get off junk
2. Sand with 3M 60 grit sand paper
3. Sand with 3M 220 grit sand paper
4. Degloss with Klean-Strip "Easy Liquid Sander Deglosser" we got from Home Depot
5. Prime with Zinsser 1-2-3 primer
6. Paint with Benjamin Moore Advance Paint in "Decorator's White" for the insides and "Copley Gray" for the front surfaces of the vanity
Here are some pictures of the process


Hardware and Drawer Slides
The Next thing was to replace these terrible drawer slides


We used Hickory bottom mount ball bearing slides
They seem to work pretty good...

Especially when you buy the correct length...

I did have to make one little fix up.
In order for the drawer slide to connect properly on the bottom, I glued a shim to act as a spacer. If this was not installed then the slide would be uneven.

Putting the hardware back on was the last task.
First I measured center vertically

Then horizontally

I used a template and picked the holes closest to center and marked them.

Here is what the handle looks like
Notice that the handles will counter sink into the drawer

Pick a drill bit that is larger than the protrusion
You will use this for your counter sink.

I also put some painters tape down to avoid splinters

Here are the drill bits I used.
The small one was 3/32" that started the hole
Then I used 3/16" for the through hole
Then 9/32" for the countersink (this was perfect for the handle)
Then 9/32" for the countersink (this was perfect for the handle)

To finish the installation, just screw in the hardware from the back.

And you are all set!


Since we used the same size hinges, we were able to reuse the holes.
Attach to the door first.

Then attach to the cabinet.
Make sure the door is level.

How to Caulk a Tub
This is actually really easy, you just clean, tape, caulk, wipe, remove tape.
Thanks YHL!
This is actually really easy, you just clean, tape, caulk, wipe, remove tape.
Thanks YHL!
Clean with a utility knife

Or our friend "Mr. Handy"


Tape at your width desired.


Load your caulk gun and look BA.


After applying, run your finger to smooth it out.

Remove the tape.

OPTIONAL:
If a few spots aren't super smooth after running your finger prior to removing the tape, you can run your finger again. But BEWARE! This can really mess with your setup if you don't apply your pressure appropriately!

And Wallah, all set.

Finishing Touches
Installing the towel hangers is no problem.
Just measure where you want them, mark the hole, check with a level, and drill away!


We got the adjustable curtain rod from Target and it was a cinch to install.

All set!

Well almost, we modified the lighting to be more "bathroom like".
There is a little tape on the ground because we have a gap in our tile to the floor.
We still need to figure out how to fill this gap.


Natalie's fancy touches.


And there you have it, our new bathroom!
No comments:
Post a Comment